- Concrete Patio Info
- Concrete Patio Pictures
- Patio Placement and Layout Tips
- Patio Sizes and Dimensions
- Concrete Patio Finishes
- Patio Designs and Ideas
- Concrete Patio Sealer
- Stamped Concrete and Other Popular Patio Finishes
- Stamped Concrete Patterns
- Resurfacing Concrete Patios
- Stained Concrete Patios
- Painted Concrete Patios
- Exposed Aggregate Patios
- Advantages of Concrete Patios
- Concrete Patio Cost
- Maintenance is a Breeze
- Other Resources
- DIY Concrete Patio
- Review our Comprehensive Section on Stamped Concrete
- Concrete Contractors: Find Products and Supplies in Your Area
- Design Ideas: Concrete Patio Info
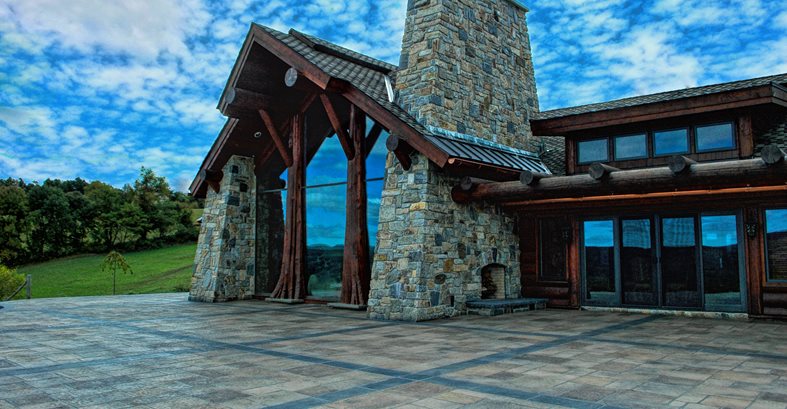
Patio Makeover Turns Plain Concrete into Decorative Stone
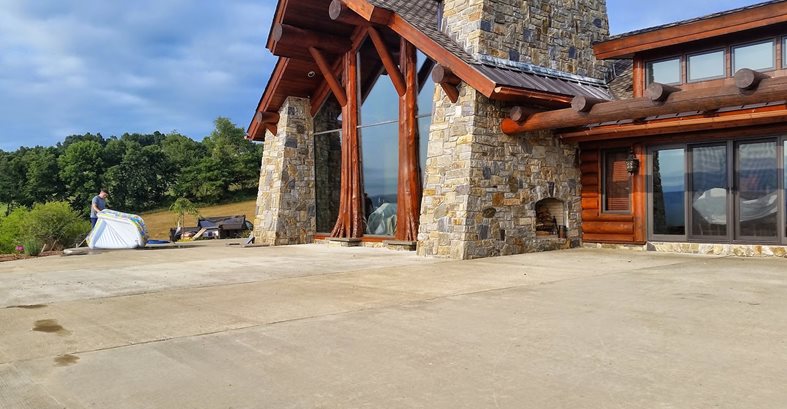
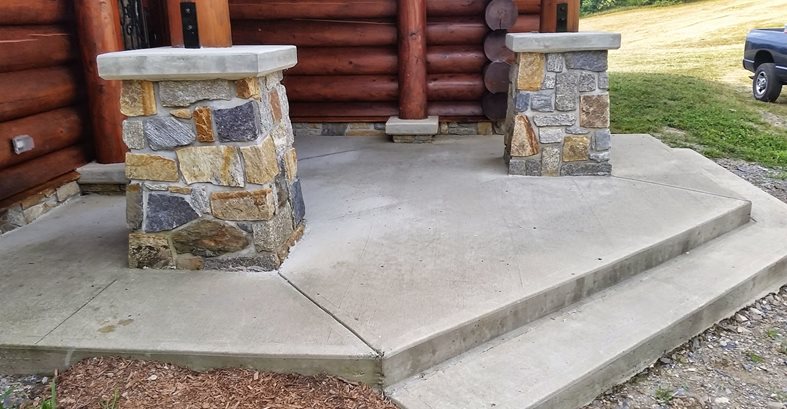
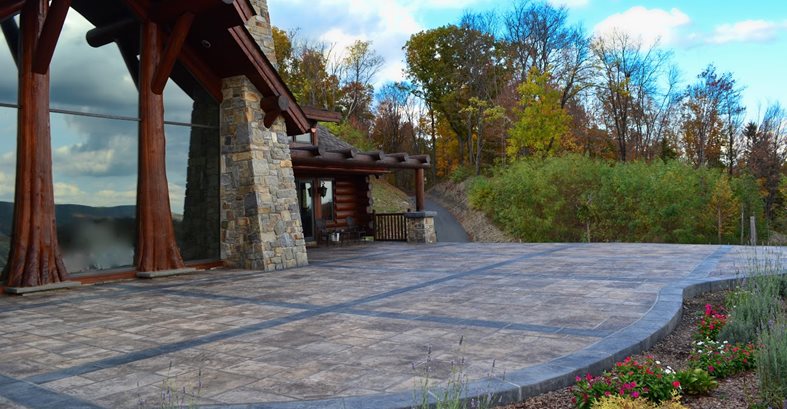
Project submitted by Unique Concrete, West Milford, N.J.When this beautiful stone-clad home in Wantage, N.J., was built in 2012, a raised concrete patio was installed, but it lacked the character of the home’s natural stone and log accents. The front entryway, pier caps, and steps were also plain concrete. “Structurally, the concrete was in good shape, but not aesthetically pleasing,” says Todd Fisher of Unique Concrete, the company hired to renovate the patio and entryway area. “In addition, there was minimal pitch on the patio slab, creating slow drainage and areas where water puddled. The client wanted to not only correct these issues, but create something that would complement the natural beauty of the home.”
The project presented a number of unique challenges. “Since the patio was already constructed, we had to work with certain existing conditions, such as the construction joints in the concrete. We wanted to deal with these in a decorative way and draw upon the existing stonework on the home as an inspiration,” says Fisher.
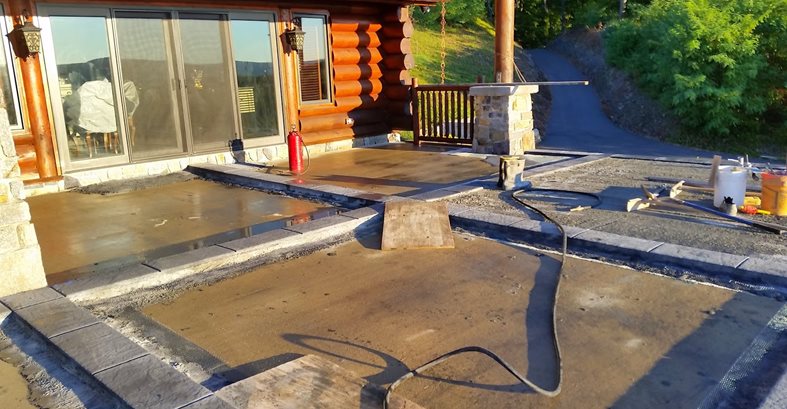
The first step was to come up with a design that would be both visually appealing and structurally sound, while factoring in the existing construction joints. “We chose to use these joints as a key design feature. Rather than just saw cutting joints in the new surface, we would construct them individually. These new ‘borders’ would be used to reestablish the pitch on the patio, as well as isolate each section, eliminating the need for sawcuts,” he says.
To correct the pitch of the patio, the area closest to the home had to be increased in height by 4 ½ inches. The outer edges of the patio were erratic in height and required an overlay ranging from 2 inches down to a mere ¾ inch. “With these radically different heights, we decided the best approach would be to isolate each area by making use of our borders. We would pour all of the borders first at the correct heights, which would reestablish the pitch, then essentially just fill in each box,” Fisher explains. “By doing this we could utilize different overlay mix designs for each area, which definitely helped with costs.”
The new borders were integrally colored with a bluestone pigment and textured with a slate- texture roller. Once the borders were complete, each area was filled in at the new border height. The first step was to pour a base mix up to an inch below the established height. Next, a stampable concrete mix was poured up to the final level, which made the entire patio surface consistent. This final layer was integrally colored, stamped, and textured. Once the stamped areas were complete, the entire surface was acid washed to prepare it for the application of water-based stains, which were used to add greater realism to the stone-like effect. The last steps were to apply grout between each stone and seal the patio with a penetrating acrylic sealer to preserve the natural look. “We also antiqued the surface with a wash that we designed,” says Fisher.
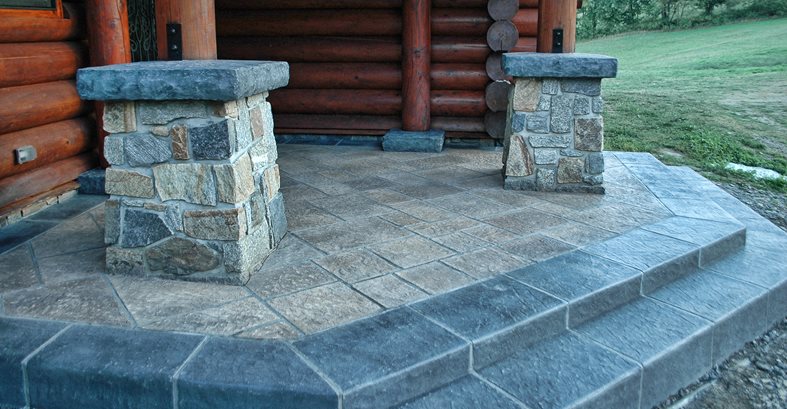
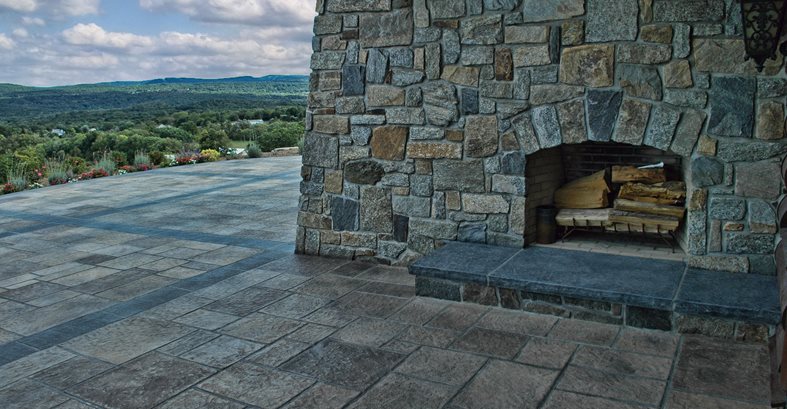
Another interesting aspect of the project was coming up with a way to deal with the existing poured-in-place concrete caps on the stone columns outside the home’s entryway. “These were a major eyesore for the client because they did not fit with the home. Rather than demo them, we used them as a base for a vertical concrete carving that we shaped and textured to mimic the look of large stone caps. We used this same concept on the hearth for the home’s outdoor fireplace,” says Fisher.
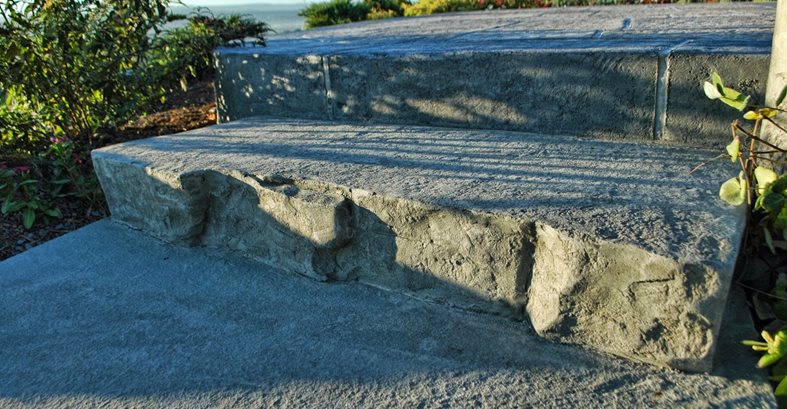
The caps on the stone columns were resurfaced with Unique Concrete’s vertical concrete mix, which was hand placed and carved without the use of forms or form liners. The top of the hearth was finished in the same manner. Unique Concrete also had to pour two new concrete steps to access the patio’s new height. These steps were carved and stained to match the natural stone steps that approached the patio.
Despite a few weather delays, the project took just over three weeks to complete. “The clients were very happy with the entire project, especially with the new hearth and the stone caps. They weren't quite sure how these aspects of the project would turn out, but they were really pleased with the outcome,” says Fisher.
Materials used:
Concrete overlay mixes: Custom designed by Unique Concrete, with assistance from Innovative Concrete Technologies and Sparta Redi Mix
Fiber reinforcement: Forta Fiber, from Forta Corp.
Bonding agent: Innovative Concrete Technologies
Integral pigments: Bayferrox, from Lanxness
Concrete stains: Concrete Texturing Tool and Supply
Concrete contractor:
Barry, Timothy and Todd Fisher
Unique Concrete, West Milford, N.J.
See more resurfacing project completed by this contractor:
Resurfaced Pool Deck Makes a Big Splash
Stamped Concrete Installed in Layers Delivers Outstanding Results
Submit your own project photos
See more stamped concrete patios
