- Decorative Concrete Overlays Home
- Floor Overlay Cost
- Types of Overlays
- Comparison Chart of Overlay Systems: Which is Best for Your Project?
- Getting Surfaces Ready for an Overlay
- When to Use a Cement-Based Polymer Overlay
- Concrete Resurfacing
- Concrete Underlayments: Tips for priming the substrate
- Design Ideas for Concrete Overlays
- Concrete Coloring Methods
- Stamped Concrete Patterns and Designs
- Concrete Overlays Color Chart
- Applying Decorative Stencils
- Polishable Overlays
- Maintaining Resurfaced Concrete
- Routine Maintenance for Overlays
- Other Resources
- Concrete Contractors: Find Concrete Overlays Products and Suppliers
School Pride in Concrete
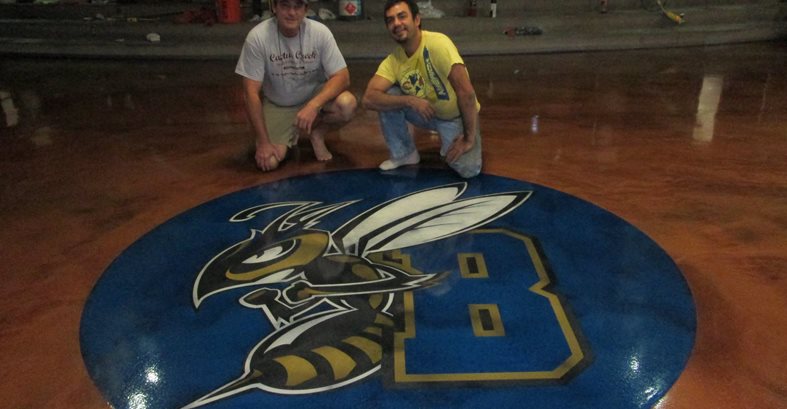
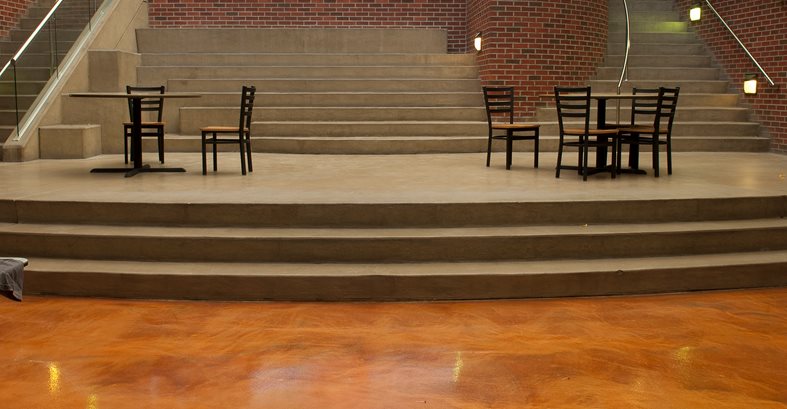
A seamless, reflective epoxy floor showcases Montana State University mascotWhile looking for work to bid online, Johnny Angel of B&B Overlays in Billings, Mont. stumbled upon a premier job for getting his foot in the door on commercial projects in the great state of Montana. It specified a metallic epoxy--his ballywick--for the student union and bookstore at Montana State University. “I contacted them, told them I had a similar product, and in one day they approved my submittal. That’s unheard of,” recalls Angel when he landed the job.
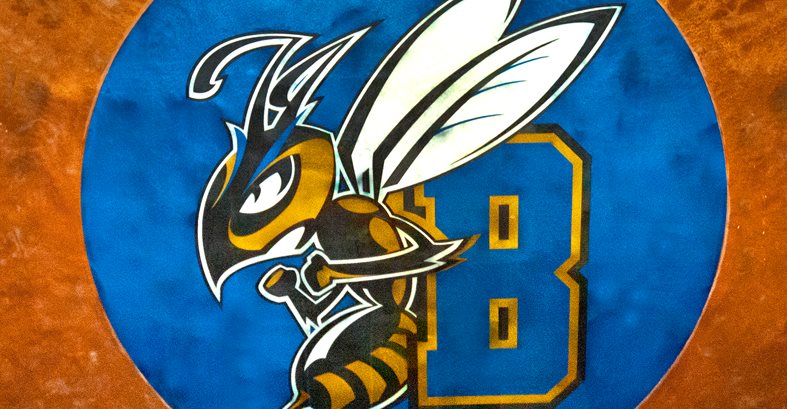
Ecstatic, he called on good friend and skilled applicator Kenny Pattillo of Concrete Cosmetics in Crowley, Tex. Relying on a knowledgeable friend for technical and installation assistance for this 7,000 square foot job is just what Angel needed to take the project over the top. “We call him ‘Kenny Magic’,” says Angel, “because he’s a stand-up guy that knows his products.” In it for the long haul for the next 3 weeks, Pattillo hired on prepping, troweling and coloring. He even suggested an 8 foot stencil of the school mascot be added to the floor which wasn’t specified in the original job bid, but which the school agreed to.
The EpoxyThe condition of the existing floor left little to be desired. Angel and Pattillo were met with carpet glue, old VCT tile layers, and black asbestos glue. “The school hired someone to remove the asbestos. Then we had to shotblast, grind, patch, fill and repair the floor which took 8 or 9 days,” recalls Pattillo. “Johnny rented two 8-inch shotblasters with dust collection equipment so we could properly prep the floor inside the building,” he says.
The first step was to put down a primer coat of epoxy. They spread a 20 mil coat of black tinted epoxy to hide imperfections in the floor. “It also helped level it out because the floor was so bad,” says Pattillo. “We prefer to use McKinnon Materials,” Angel explains. “It’s a great material that will hold up and won’t fall apart. If it gets scratched, you can just sand and buff it and it’s good to go.”
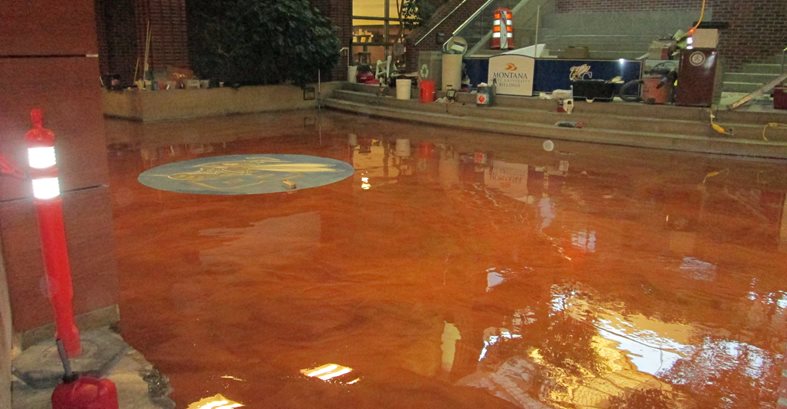
The second step consisted of applying another 20 mil layer of aurora epoxy, McKinnon’s metal flake system. “The floor was a 50/50 mix of brass and copper,” says Pattillo. “The epoxy takes about 10-12 hours in that climate to set,” he says. One of the challenges of doing this floor was the 20 mil layer of epoxy abutting a 30 mil thick rubber stencil of the school’s yellow jacket mascot. “We had to pour the floor slightly thicker around the stencil,” Pattillo continues. “It ended up over 20 mils thick with a metallic 3D depth, and with a smooth transition where it meets the stencil.”
The StencilThe logo was created with a mix of royal blue, midnight blue, yellow gold, charcoal and pearl. “We pour one color into the stencil and sand it,” explains Pattillo, “then we pour a second color. The sandpaper stops at the stencil so you know you’re level.” The custom made stencil was 8 feet in size. “It came in 18-inch wide strips and ships in rolls, so you have to piece it together. We did the perimeter first in blue, then the rest of the job could move forward,” he says.
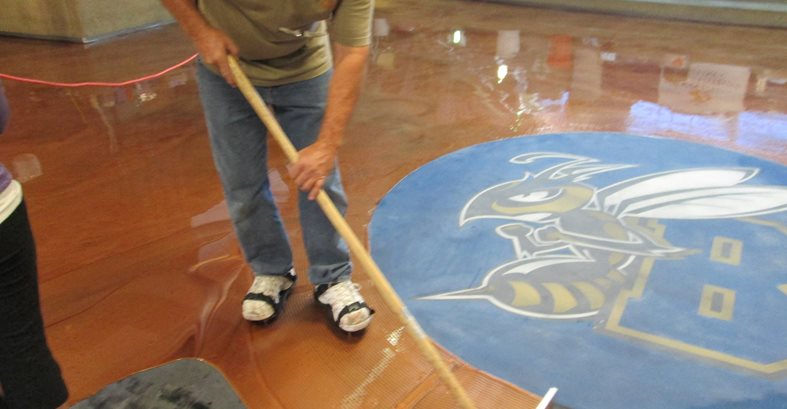
The floor was sealed with a two-part high performance urethane from McKinnon Materials. “We use that sealer because it’s best for high traffic areas, and is known for its tensile strength and hardness,” says Angel. “It also gives us more working time,” Pattillo explains. “We use big 18-inch rollers to apply it. We also put some non-skid into it. It knocks down the reflectiveness a bit but is necessary for safety,” he continues.
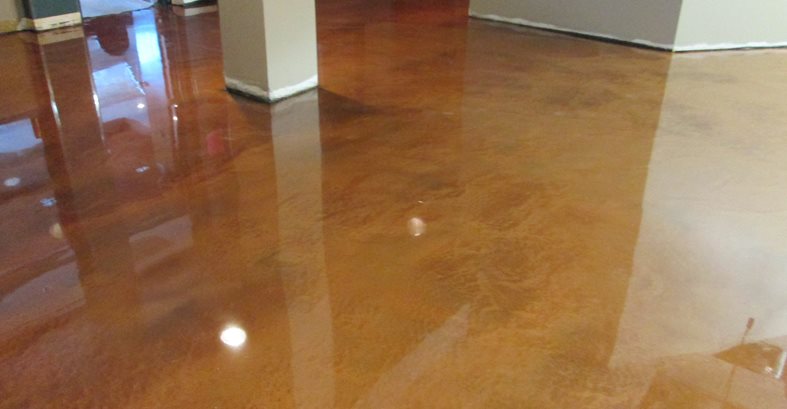
The end result is an amazing 3-dimensional floor with no seams and no lines, and durable enough to withstand the traffic of a bustling college campus. “On jobs like this, you want top of the line materials,” says Pattillo. “It all starts with proper prep work. It’s not about cutting corners.”
Materials and equipment used
Metallic epoxy: Aurora from McKinnon Materials
Sealer: Two-part urethane from McKinnon Materials
Companies involved in the project:
B&B Overlays, Billings, MT
Concrete Cosmetics, Crowley, TX
A&E Architects
Hardy Construction
Central Products
McKinnon Materials
Submit Your Own Project Photos
Learn more about concrete school floors

